Raid30
Turning basic pixel art into satisfying visuals


Today's devlog will be on the rendering process - the steps applied to the pixel art to turn it into an appealing final image.
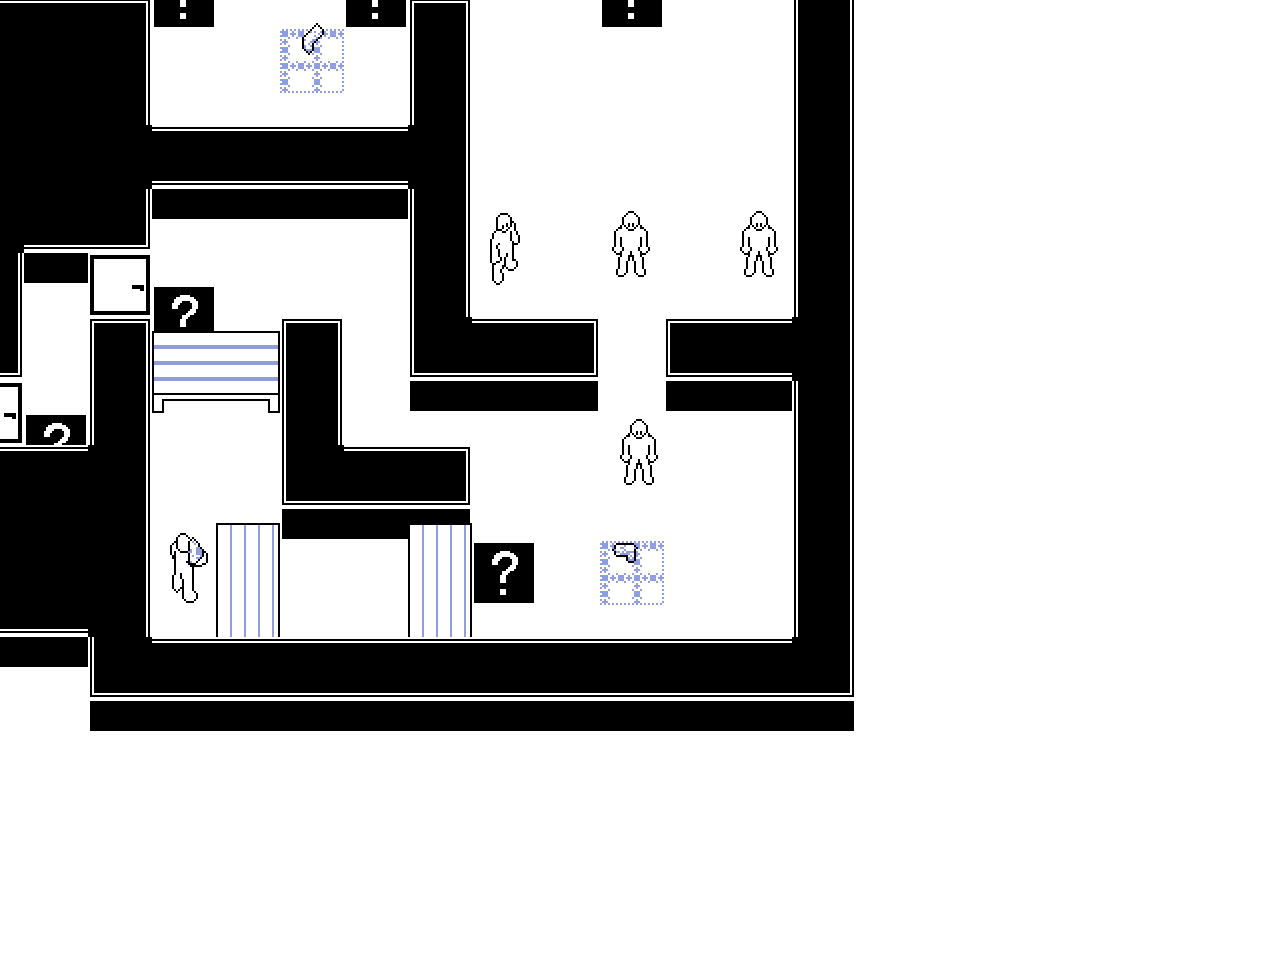
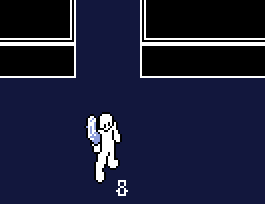
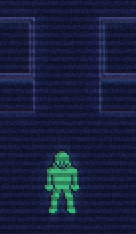
This is how the game looks without any extra work done to the raw artwork - playable for sure, but without any visual flair.
The first step is to define a palette. This is a list of hexidecimal color values that look good together, made by an artist. Several of the palettes in the game were taken directly from Aseprite, whilst others were taken from the list kept as lospec.com - a great resource for game developers.
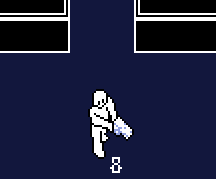
The easiest change we can make upon selecting a palette is to apply a background color from it, usually the darkest color:
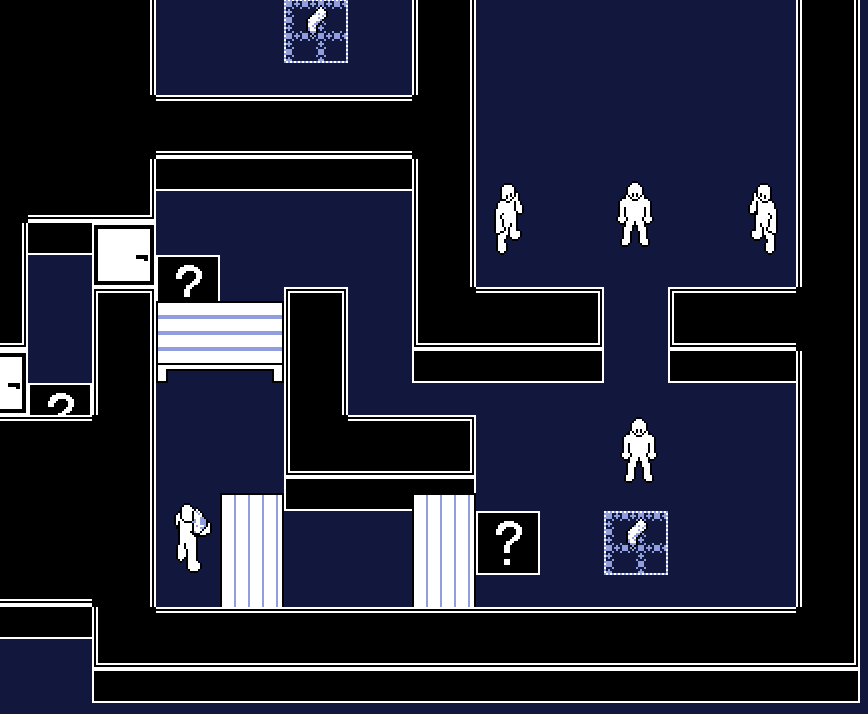
In my game I keep an array of different hex colors (Game Maker can work with these directly) and refer to them by array position. Each palette will color objects differently, so there is also an array of "color sets" - a set of two colors taken from the palette, that are then applied to objects. For instance, in the default palette, the "weapon" color set uses positions 15 and 13 from the palette array, as its primary and secondary colors. These color sets need to be defined separately for each palette.
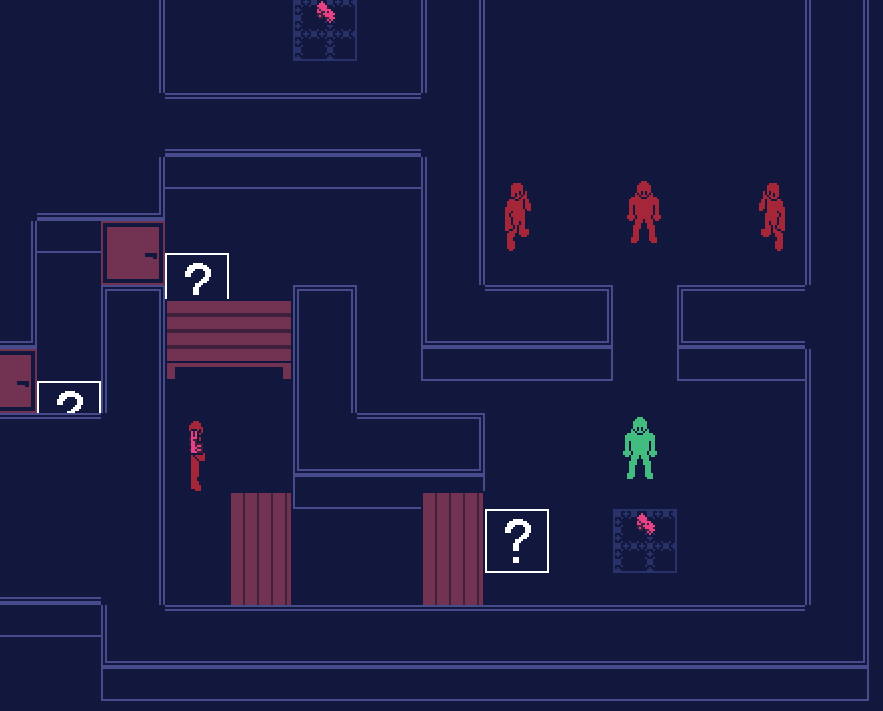
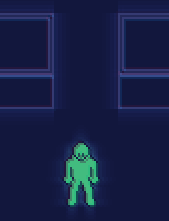
A shader is applied to every object drawn on screen. First, any black space is colored to match the background color. Then, white space is colored with the first color from that objects applied color set. Finally, any pixels with a specific shade of blue are given the second color from the color set.
By the way, although every objects has its own color set consisting of two colors, a special exception has to be run for weapons held by the characters, as the weapon is not actually a separate object, nor is it part of the character's sprite. There is code in the renderer to draw character's weapons in the correct draw order, with the correct coloring.
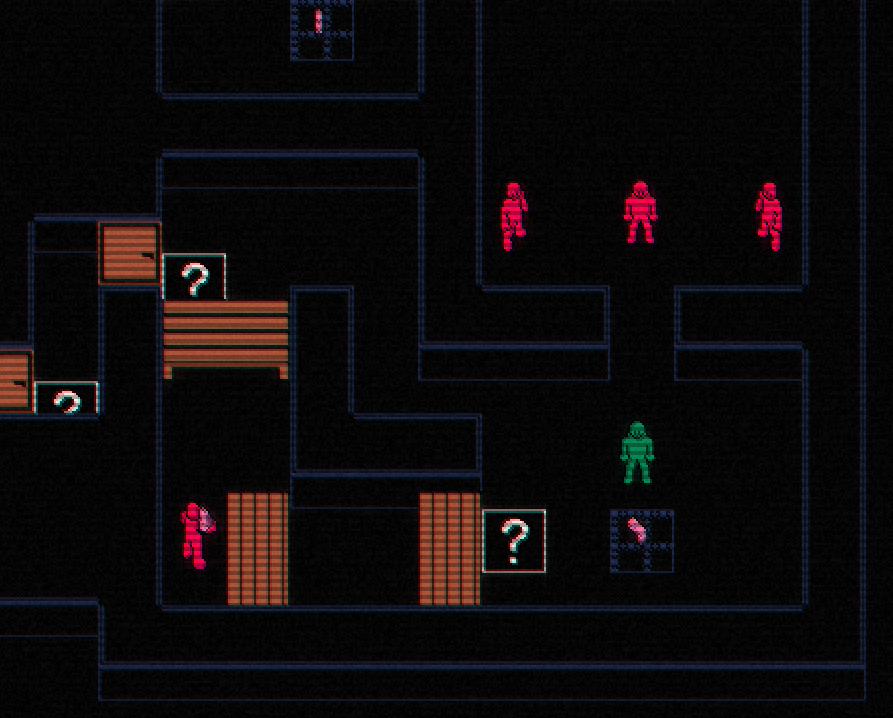
Now that there are objects being drawn correctly, the next step is to run some post-processing effects. The first two are shader-based, and consist of a glow effect, and chromatic abberation:

After this I apply two overlay textures - a tiled noise texture which takes a random position every frame, and a repeating scan-line texture:
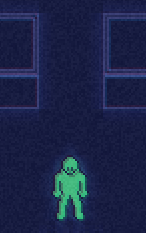
Depending on your taste, any of these post-processing effects can be disabled in the configuration menu, so don't worry if you don't like the look of some of these. In my opinion they add a bit of texture to the basic pixel art in the game, but I understand some people may prefer a clearer image.
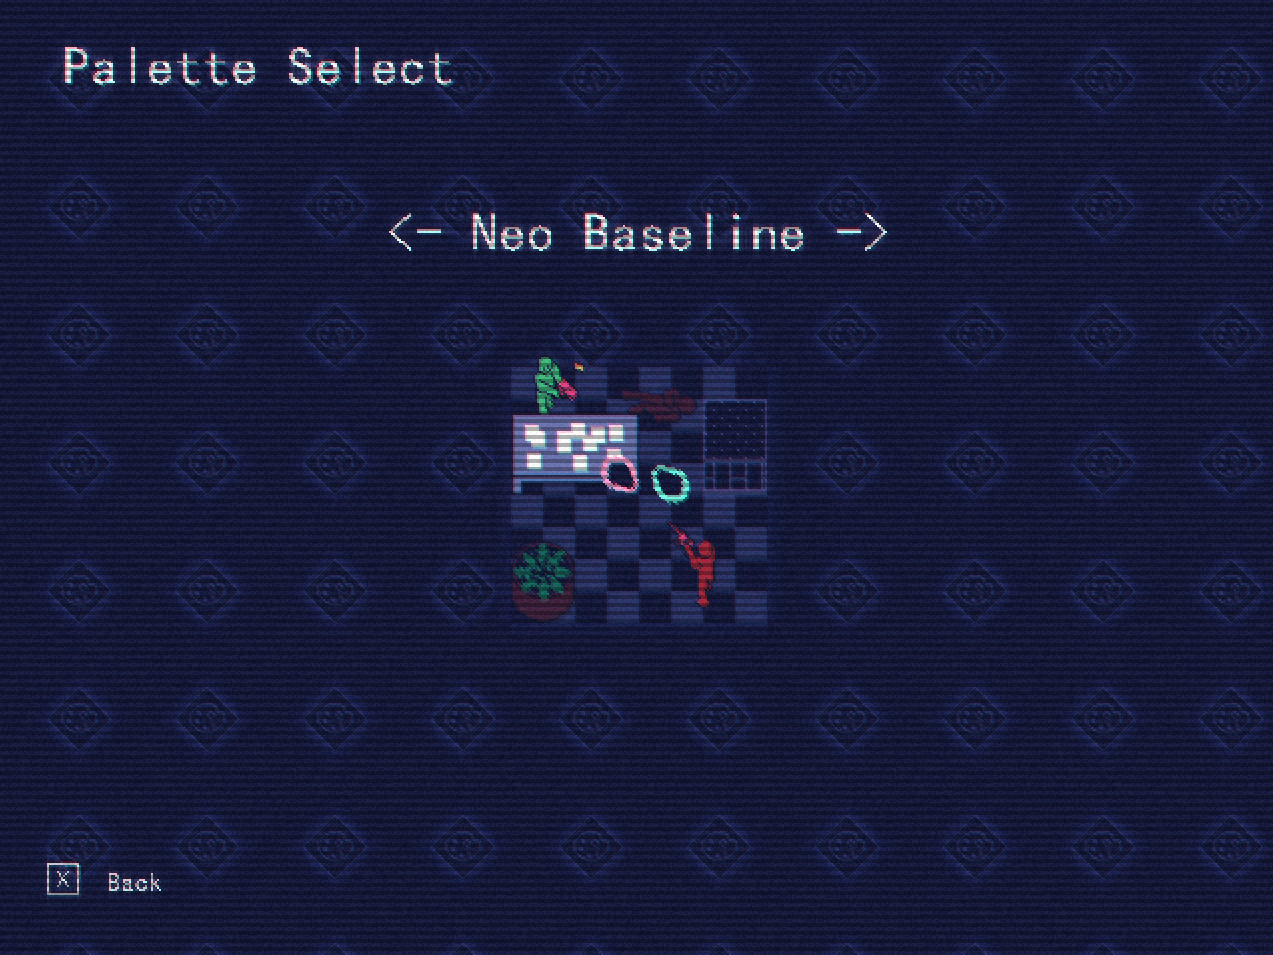
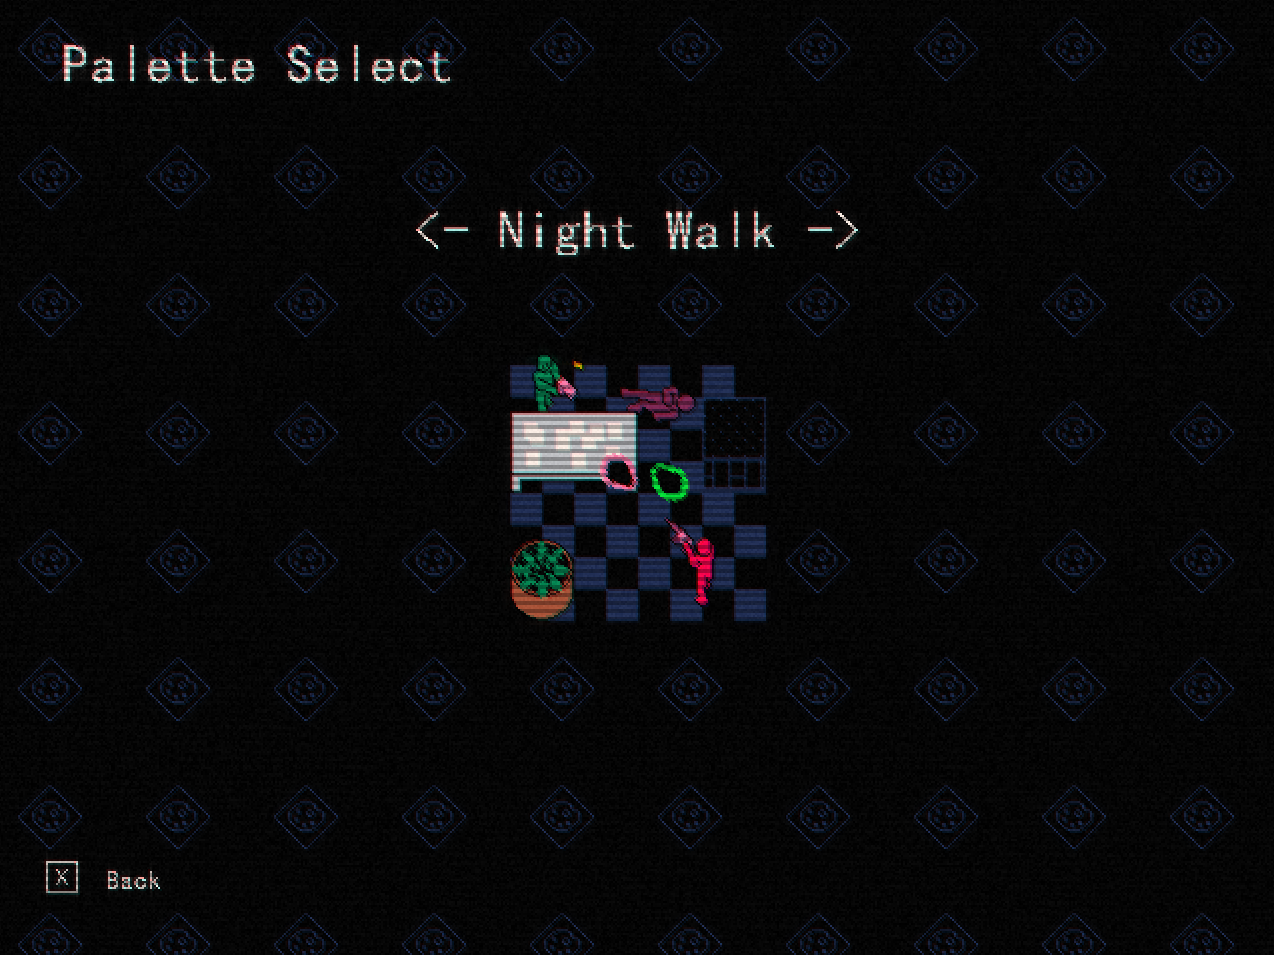
The palette select menu is available straight away from the title screen, and so far allows you to choose from 10 different options. These will be immediately applied, and a test image is shown so that you can see the effect straight away.
You can exit to the title screen to change your selected palette at any time, and load back into your game.
Another aspect of the renderer you may find interesting is that there is a layer drawn below all of the active objects which does not get cleared at the start of every frame, and persists throughout the map. This allows for the floor to get covered in debris, blood, etc. without affecting the performance of the game.
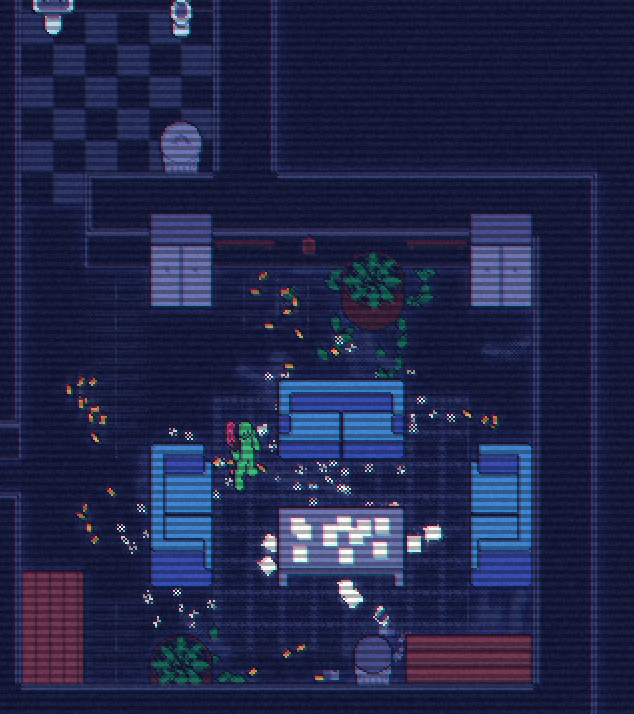
This provides a very visceral experience as you can see a trail of destruction throughout the map as you go. Of course, all of the render process is applied to this layer too.
Leave a comment
Log in with itch.io to leave a comment.